Rock Painting Ideas for Kids

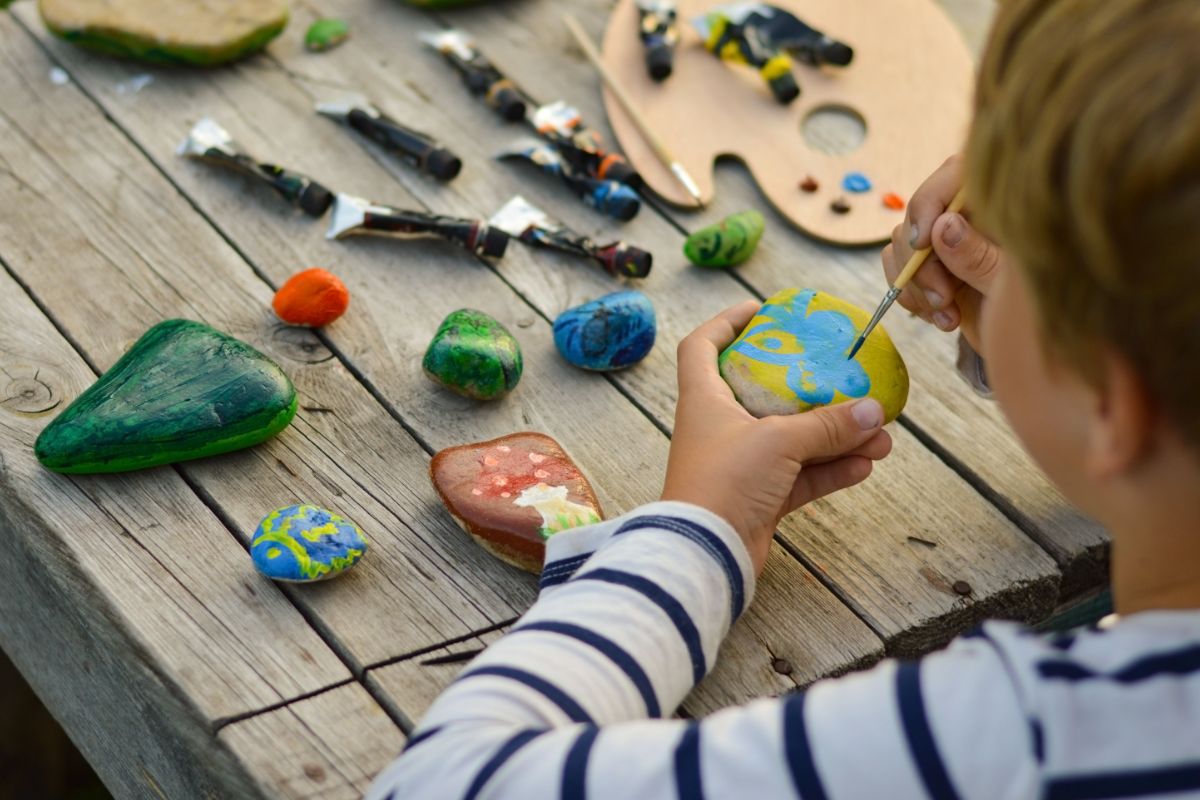
If you’re looking for a fun, affordable, and creative activity that keeps kids engaged and away from screens, rock painting ticks all the boxes. Whether you’re crafting indoors on a rainy afternoon or getting messy in the garden on a sunny day, rock painting is an ideal project for children aged 4–11.

From smiley faces and animal designs to story stones and seasonal themes, there are endless rock painting ideas for kids that spark imagination, improve motor skills, and provide hours of entertainment. 

Getting Started with Rock Painting

Before the paint comes out, you’ll want to gather your materials and prep your rocks.

What You’ll Need:

  • Smooth, flat stones (garden centres, beaches, or parks – ethically collected)
  • Acrylic paints or paint pens (non-toxic and child-safe)
  • Paintbrushes in various sizes
  • Water for cleaning brushes
  • An old newspaper or a wipeable surface
  • Optional: clear sealant to protect your designs

Rock Preparation Tips:

  • Wash rocks with warm, soapy water and allow them to dry completely
  • You can apply a white primer coat to make colours pop
  • For younger children, set up a mess-proof area to help with cleanup

Now you’re ready to get creative.

Simple Rock Painting Ideas for Younger Kids (Ages 4-6)

For little ones just starting out, keep things bright, bold, and easy to paint. These simple rock painting ideas are perfect for tiny hands and growing imaginations:

  • Smiley Faces: Paint yellow circles with cheerful expressions
  • Ladybirds and Bees: Add spots and stripes to small, rounded stones
  • Polka Dots and Rainbow Stripes: Great for practising brush control
  • Paw Prints: Use finger painting techniques to stamp little paws

Encourage them to use their favourite colours and let their personalities shine through each design.

Fun and Creative Rock Art for Older Children (Ages 7–11)

Older children can take on more detailed designs and even turn their painted stones into storytelling tools. Here are some creative challenges to try:

  • Cartoon Characters: Think of their favourite shows, books, or films
  • Mini Landscapes: Sunsets, starry skies, or seaside scenes
  • Mythical Creatures: Dragons, unicorns, fairies, or sea monsters
  • Animal Portraits: Cats, dogs, owls, or jungle animals

You could even create a whole collection of themed rocks—perfect for display or giving as gifts.

Themed Rock Painting Projects

Adding a theme can make rock painting even more engaging, especially for group settings or seasonal crafts.

Ideas to Explore:

  • Seasonal Sets:
    • Spring flowers, summer suns, autumn leaves, winter snowflakes
  • Holiday Rocks:
    • Halloween pumpkins and ghosts, Christmas trees and snowmen, Easter eggs
  • Educational Sets:
    • Alphabet rocks to practise phonics
    • Numbers for counting games
    • Emotion faces to talk about feelings

Themed rocks work well in schools and nurseries, especially when tied to a topic or learning outcome.

Rock Painting Games and Activities

Once your rocks are painted, the fun doesn’t stop there. Here are a few ways to turn your artwork into a game or group activity:

  • Rock Hunts: Hide painted stones around your garden or local park for a treasure hunt
  • Story Stones: Paint characters, settings, and objects—then use them to inspire made-up stories
  • Rock Garden Trails: Lay out decorated rocks along a garden path or flower bed
  • Swap and Share: Exchange rocks with friends, family, or classmates as handmade gifts

These activities help children see the value of their creations and encourage imaginative play.

Displaying and Sealing Painted Rocks

If you’d like your rocks to last, especially outdoors, consider sealing them with a child-safe clear acrylic spray or varnish. This protects the paint from fading or washing away.

Display Ideas:

  • Line them up in window boxes or on shelves
  • Place them around houseplants or flower pots
  • Create a rainbow rock path or a “kindness rock” collection with positive messages

Encouraging kids to showcase their work gives them a sense of pride and might just inspire their next batch of designs.

Get Creative with JCB Explore

Whether you’re painting bugs, creating characters, or telling stories through stones, rock painting is one of the most versatile and enjoyable kids’ craft activities around. It’s budget-friendly, accessible, and encourages creativity in all forms.

With a bit of paint and a handful of pebbles, you can transform an ordinary afternoon into something colourful, calming, and full of imaginative fun. So gather your supplies and let the rock art begin!

Looking for more kids’ craft ideas or printable templates? Stay tuned to our blog for seasonal projects, family-friendly activities, and art inspiration all year round.

How to Make a Bug Hotel and Invite Fantastic Creatures into Your Garden

Insect life is vital to a thriving garden ecosystem. From pollination to pest control, bugs play a crucial role in keeping your outdoor space healthy and full of life. 

One simple, eco-friendly way to support garden biodiversity is by building your own bug hotel. Not only is it a rewarding activity for nature lovers, but it’s also a fantastic project for children.

What Is a Bug Hotel?

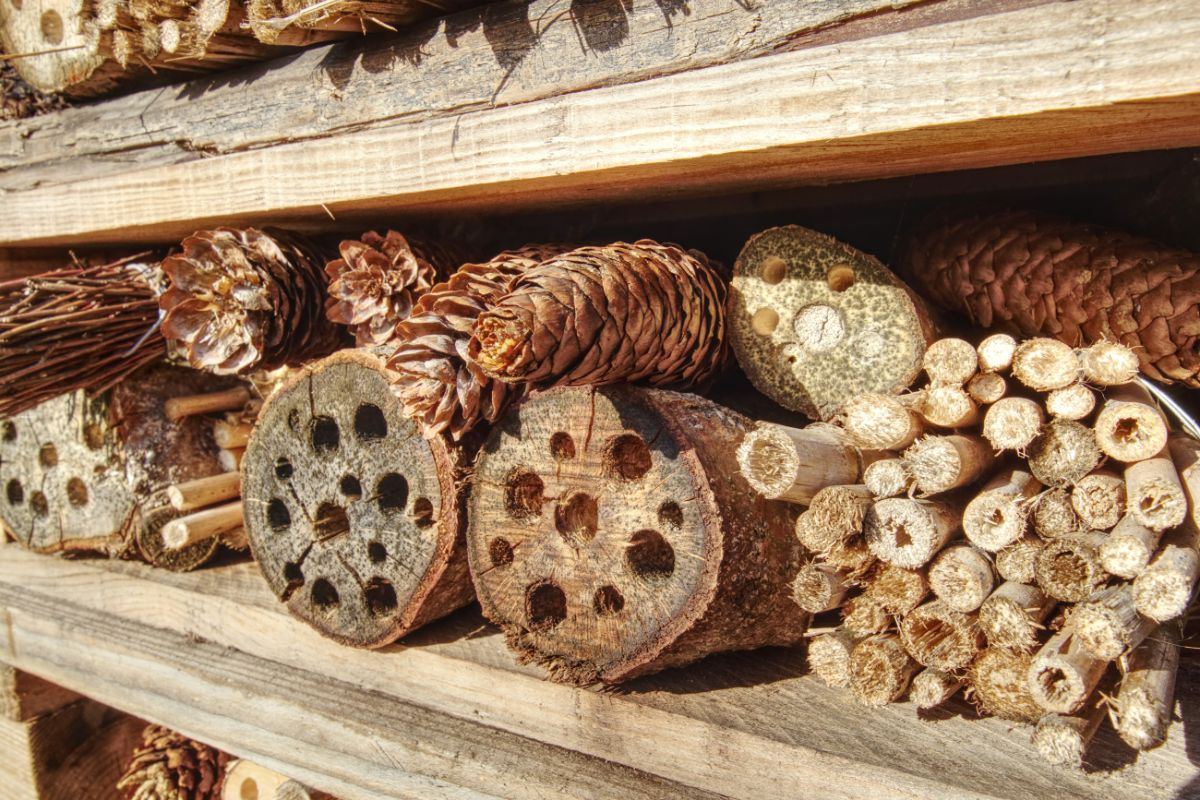
A bug hotel, also known as an insect hotel or bug house, is a manmade structure that provides shelter and nesting space for a variety of beneficial insects. These habitats are made from natural or recycled materials and attract creatures such as:

  • Solitary bees (important pollinators)
  • Ladybirds and lacewings (natural pest controllers)
  • Woodlice and beetles (decomposers that enrich soil)
  • Spiders and other garden helpers

Bug hotels not only support biodiversity but also encourage healthy plant growth and reduce the need for chemical pest control.

Where to Build Your Bug Hotel

Choosing the right spot can make all the difference. Here are some tips:

  • Sunny and sheltered: Most insects prefer warmth and protection from wind and rain.
  • Near plants: Placing your hotel close to flowers, shrubs, or vegetable patches helps attract pollinators.
  • Away from disturbance: Try to avoid placing it near paths or frequently used areas.

For maximum success, different bugs need different conditions—bees love the sun, while beetles and woodlice prefer cool, damp spots.

Materials You’ll Need

You can build a bug hotel from everyday items and natural materials. Here’s a list to get you started:

  • Wooden pallets or boxes (for structure)
  • Hollow stems and bamboo canes (ideal for solitary bees)
  • Pinecones, straw, dry leaves, and twigs (shelter and insulation)
  • Bricks with holes or clay pots (good for beetles and spiders)
  • Bark, wood chips, and cardboard
  • String, nails, or glue (for securing materials)

When gathering materials, choose untreated wood and avoid anything toxic. The more variety, the more insects you’ll attract.

How to Make a Bug Hotel: Step-by-Step

Ready to get started? Follow these simple steps to build your own garden insect haven:

  1. Create the Frame
    Use wooden pallets, a crate, or stackable boxes to make a solid base. The hotel can be as tall or wide as you like.
  2. Divide Into Sections
    Partition the space into smaller chambers using wood slats or dividers. Each section will house different materials.
  3. Add Natural Fillings
    Fill each compartment with a mix of bug-friendly materials like bamboo, bark, straw, pinecones, and bricks.
  4. Secure the Structure
    Use string or nails to keep materials in place. Ensure the hotel is sturdy and won’t collapse in bad weather.
  5. Place in the Garden
    Position the bug hotel in your chosen spot. Make sure it’s stable and slightly raised off the ground to avoid damp.
  6. Add Some Decorations
    Add things like mini toy diggers or models to make it look like there is a miniature community working on your bug hotel outside.

Bug Hotel Ideas for All Ages

Looking for inspiration? These creative bug hotel ideas offer something for everyone:

  • Rustic pallet stack: Great for large gardens, stack multiple pallets filled with materials.
  • Hanging bottle bug hotel: Cut plastic bottles in half, fill them with twigs and canes, and hang from trees or fences.
  • Bee brick wall: Use bricks with holes or drill into wood blocks to create a bee nesting wall.
  • Children’s homemade bug hotel: Use a shoebox or small crate and let kids fill it with twigs, dry grass, and cones. Encourage them to decorate it with natural paints or leaves.

Bug hotels can be as simple or artistic as you like; there’s no one-size-fits-all.

Which Insects Will You Attract?

Here’s a quick look at the “fantastic creatures” you’re likely to meet:

  • Solitary Bees – Gentle and vital pollinators that nest in hollow stems or drilled wood.
  • Ladybirds – Feed on aphids and help protect plants.
  • Lacewings – Green, delicate insects that prey on soft-bodied pests.
  • Beetles & Woodlice – Break down dead matter and enrich the soil.
  • Spiders – Natural pest control experts.

By providing shelter, you’re helping protect threatened species and encouraging a balanced ecosystem.

Caring for Your Bug Hotel

Once built, your bug hotel requires very little maintenance, but here are a few helpful tips:

  • Keep it dry: Tilt the roof or add a waterproof layer to stop materials from becoming waterlogged.
  • Replace decayed materials: Over time, some fillings will need refreshing to remain effective.
  • Observe and learn: Gently watch your bug hotel over the seasons. You’ll learn what insects are most active and which materials they prefer.

In winter, many insects use bug hotels to hibernate, so avoid moving or disturbing it during colder months.

A Fun and Educational Project

Building a bug hotel is a brilliant way to connect with nature for families. A children’s homemade bug hotel not only encourages outdoor play and creativity but also teaches children about wildlife and sustainability. It’s an ideal school project or weekend garden activity.

Get Creative with JCB Explore

Bug hotels are more than just a garden feature, they’re a way to invite nature into your space, support struggling insect populations, and make your garden thrive. Whether you’re a seasoned gardener or trying your first eco project with the kids, knowing how to make a bug hotel is a rewarding, accessible way to give back to nature.

Start collecting your materials today and create a haven for some of the garden’s most fantastic creatures.

How to Make a DIY Calendar: A Fun and Creative Activity for Kids and Parents

Creating a DIY calendar is a fantastic way to combine learning, creativity, and family bonding. This simple yet rewarding activity allows parents and children to work together on a project that’s both fun and functional. Not only does it encourage constructive play, but it also helps kids develop skills like organisation, creativity, and focus.

In this guide, we’ll show you how to design and assemble your very own calendar in just a few easy steps. This activity is great for sparking your child’s creativity and making memories that will last all year round.

Jump straight to the method here.

Let Your Children Manage Their Own Calendar

A DIY calendar is a fantastic way to engage your child in learning and help them stay on top of important events. By incorporating educational elements and kid-focused activities, you can turn your calendar into a fun, interactive resource for the entire family. Let your children add their own important events and keep track of their important events.

Learning Days and Activities

Add learning days and activities to your calendar to schedule time for specific activities where your child can learn, be creative or read.

Important Dates

Keep a note of school events, trips away, sports days and birthdays so your children know when to expect fun activities that they can look forward to.

Fun Learning Goals

The start of the year is a great time to choose some fun learning goals with your child and choose a timeframe to achieve them. You could introduce goals such as reading a certain number of books in a month or completing a new craft project. You should also schedule reward days for when they achieve their goals to reinforce these goals.

Materials You Will Need

Before you dive into making your DIY calendar, it’s time to get all the materials you may need. Having everything ready will make the process smooth and enjoyable for both you and your child.

Some items you may require are:

  • Photos or Artwork: Choose family photos, your child’s drawings, or any fun images that reflect your theme. If your children like diggers, why not use some of our JCB Muddy Friends wall stickers?
  • Printable Calendar Templates: Download a free calendar template.
  • Paper or Cardstock: Use thicker paper to ensure your calendar lasts all year.
  • Scissors or Paper Cutter: For precise cuts when shaping the pages or photos.
  • Adhesives: Glue, tape, or a glue stick for sticking images and decorations in place.
  • Binding Materials: Options like a hole punch and yarn, ribbon, or a small binder ring for assembling your calendar.
  • Decorative Supplies: Stickers, markers and stamps can all add a personal touch.
  • Optional Tools:
    • Ruler for straight lines.
    • Laminator for added durability.
    • Magnetic strips if you want a fridge-friendly calendar.

Encourage your child to participate by letting them select the decorations or photos. This not only makes the activity more engaging but also gives the calendar a unique, personal touch. Once everything is ready, you’re all set to start creating.

Step-by-step Guide to Making a DIY Calendar

Step 1: Choose Your Theme

Choose a theme for your calendar. Some ideas for a fun creative DIY calendar are:

Family Memories

Use photos of your favourite family moments from the past year to decorate your new calendar.

Get Seasonal

Help your children understand the different seasons and events by decorating the calendar with seasonal pictures and drawings. Try giving Easter a bright decoration with bunnies and eggs while October can be a spooky calendar with plenty of ghouls and zombies.

Artwork

Let your children’s imaginations run wild with their artwork and ideas. Give them stickers, stamps and pens to come up with their own calendar for the new year. Guide them on different events throughout the year that they might want to include in their inspiring artwork.

Step 2: Prepare Your Calendar Templates

When preparing your blank calendar template to print, remember to leave plenty of space for decorations and additional notes that pop up throughout the year.

Try adding the month in the top left corner with the daily calendar taking up two-thirds of the page below. This leaves plenty of space to be creative and add stickers, stamps and drawings.

We recommend using A4 paper in landscape so that you can easily print the calendar templates at home or at the local library (don’t forget to leave some space at the top for binding). Let your kids get involved in this design to see how they want to try designing their own calendar.

Step 3: Add Decorations

Now it’s time to get creative. With stickers, stamps, pens and glue in hand, your children can use their imagination and motor skills to be creative and create the perfect calendar for the new year.

If you are using glue, be prepared to get a little messy and lay down a protective sheet on your table to save yourself a clean-up later on.

Step 4: Assemble Your Calendar

Now it’s time to bind your calendar. This will vary depending on how you have decided to bind everything together. If you have left a space at the top of your page for ring binding or yarn binding, you can add a straight row of hole punches across all the pages to allow the binding to secure all of the pages together.

If you don’t want to bind with rings or yarn a simple row of staples should do the job. And if you want to add your calendar to the fridge you can add a sturdy piece of card to the binding and mount a few magnetic strips to the back of the card to stick to the fridge easily.

Step 5: Personalise Your DIY Calendar

Once your calendar is ready, go through all the months with your children and add key dates such as birthdays, anniversaries, holidays or whatever your children think is worth adding to the calendar.

Fun for the Whole Family with a DIY Calendar

Creating a DIY calendar is more than just a crafting project, it’s an opportunity to engage your child in constructive play, spark their creativity, and teach them valuable skills like time management and organisation. By involving them in the process, you create a practical tool for keeping track of events and activities and foster a sense of accomplishment and pride in their work.

Whether you use it to highlight important dates, track educational goals, or simply as a fun family activity, a DIY calendar is a meaningful way to spend quality time together. So, gather your materials, let your imagination run wild, and start creating memories that will last all year long.

Fine Motor Skills Activities to Keep Children Engaged and Learning

Fine motor skills are an essential part of a child’s development, enabling them to perform tasks like writing, drawing, and buttoning their clothes. These skills involve the coordination of small muscles in the hands and fingers, forming the foundation for independence and success in everyday life.

While mastering fine motor skills can sometimes feel challenging, the good news is that learning doesn’t have to be boring! With a little creativity, parents can turn everyday moments into opportunities for growth. 

We’ll explore a variety of fun, practical, and easy-to-set-up activities that not only strengthen fine motor skills but also spark joy and creativity in children.


What are Fine Motor Skills?

Fine motor skills refer to the ability to use and control the small muscles in the hands, fingers, and wrists. These skills are essential for performing precise movements needed for everyday tasks such as holding a pencil, tying shoelaces, or buttoning a shirt.

Developing fine motor skills is crucial for children as they grow, helping them gain independence in self-care activities like eating, dressing, and personal hygiene. They also lay the foundation for academic success, enabling children to write, draw, and engage in hands-on learning activities effectively.

By fostering these skills early, parents can help their children feel more confident in their abilities and better prepared for the challenges of school and life. Fine motor skill development is a gradual process, but with the right activities and support, it can also be a lot of fun.


Why are Fine Motor Skills Important?

Fine motor skills are a vital part of a child’s growth and play a key role in their ability to navigate daily life with ease and confidence. These skills enable children to perform essential tasks like holding a spoon, zipping up their coats, or tying their shoelaces. Mastering these abilities can help form a sense of independence and accomplishment.

Fine motor skills are also fundamental for writing, drawing, and cutting with scissors, tasks that are crucial for early learning and classroom activities. Children who develop strong fine motor skills are better equipped to express themselves creatively and meet the demands of schoolwork.


Tips for Parents

Incorporate Activities into Everyday Life

Fine motor skill development doesn’t have to be limited to playtime. Encourage your child to practice skills during daily routines. For example, let them help in the kitchen by stirring, pouring, or using tongs to serve food. Involve them in chores like folding clothes or picking up small items, turning ordinary moments into skill-building opportunities.

Use Materials you Already Have

There’s no need for fancy equipment. Household items like kitchen tools, buttons, cardboard, or toys can become excellent resources for fine motor activities. Everyday materials make the activities accessible and budget-friendly while also teaching your child to use creativity in their play.

Keep Activities Fun and Pressure-free

Children are more likely to engage with activities that match their interests. If they love animals, incorporate animal-themed crafts or sorting animal toys. If they enjoy cars, include activities like threading toy cars or building roads with blocks. Tailoring tasks to their passions keeps them motivated and focused.

Be Patient and Supportive

Fine motor skills take time to develop, and every child progresses at their own speed. Be patient as they learn and provide gentle guidance when needed. 

Offer lots of praise and positive reinforcement to boost their confidence and make them feel proud of their achievements.


Fine Motor Activities For Children at Home

Play-Based Fine Motor Activities

Pushing and Pulling Wheel Toys 

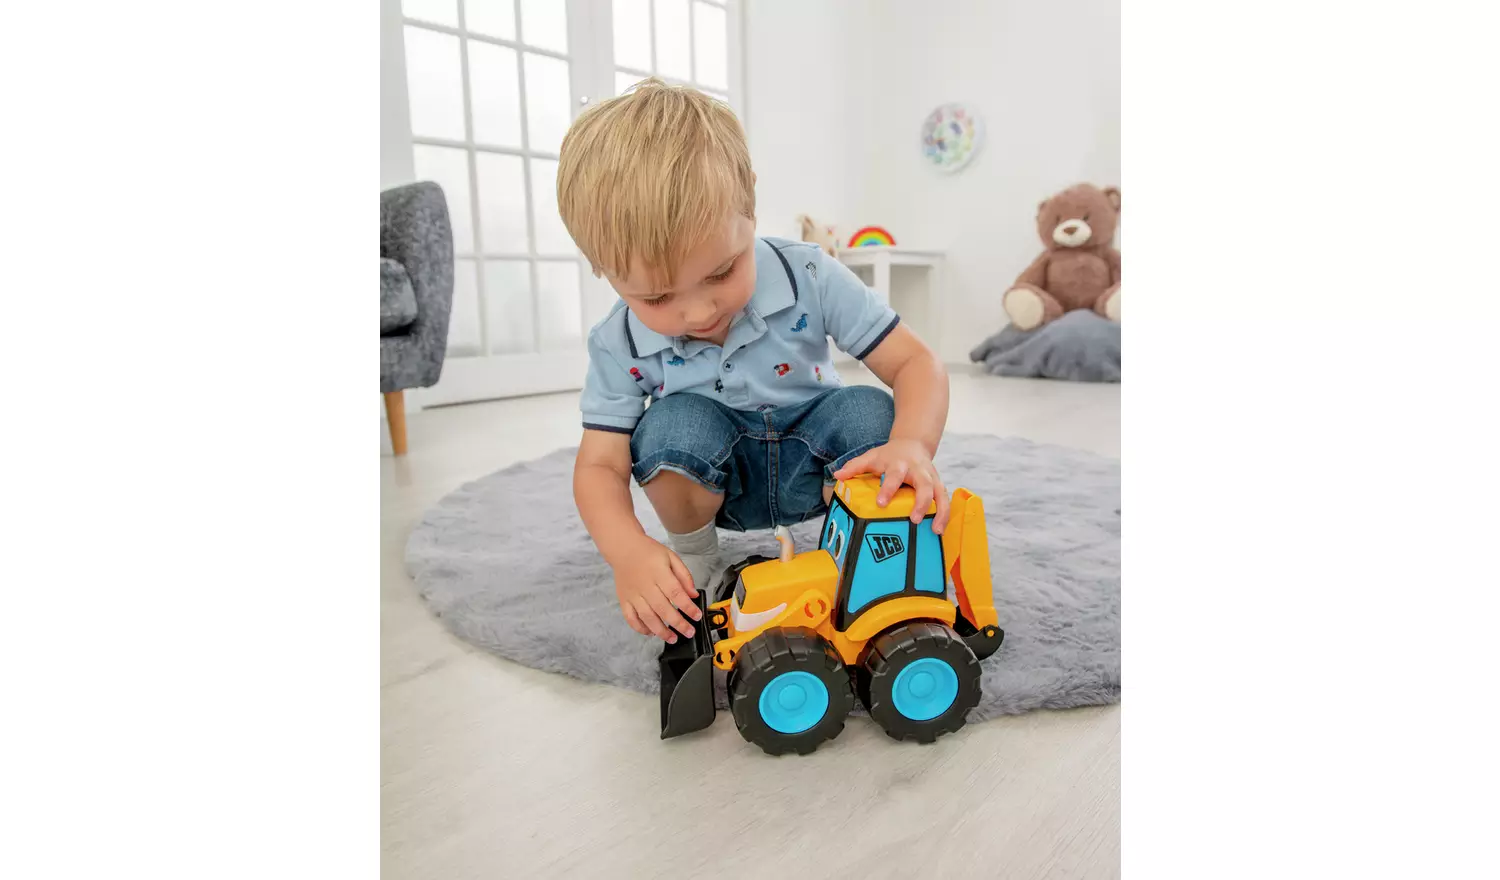
Encourage your child to push and pull small cars, trains, or digger toys across different surfaces. 

These actions help strengthen wrist and finger muscles while improving coordination. Adding obstacles or ramps makes the activity more engaging and encourages problem-solving.

Balloon Volleyball

Set up a simple indoor game of balloon volleyball, where your child bats a balloon back and forth with their hands or a small paddle. 

This activity builds hand-eye coordination, grip strength, and reaction speed. To make it more challenging, try introducing “target zones” they can aim for.

Bead Threading

Give your child a piece of string or shoelace and let them thread beads, pasta, or even cereal loops to develop precision, focus, and patience while improving their pincer grip. For extra fun, have them create patterns or sort beads by colour.

Ask your children to create bracelets and necklaces that they and the family can wear for an added sense of pride in their creations.

Craft Activities

Collage Making

Let your children be creative and explore their own ideas with a collage. Get some child-friendly paper, glue and scissors (or precut the shapes) and some materials to work with including family photos, different coloured cards, feathers, leaves and small objects.

By cutting, ripping and sticking, your children can refine their scissor skills, hand strength and creativity in this engaging activity.

Building Towers

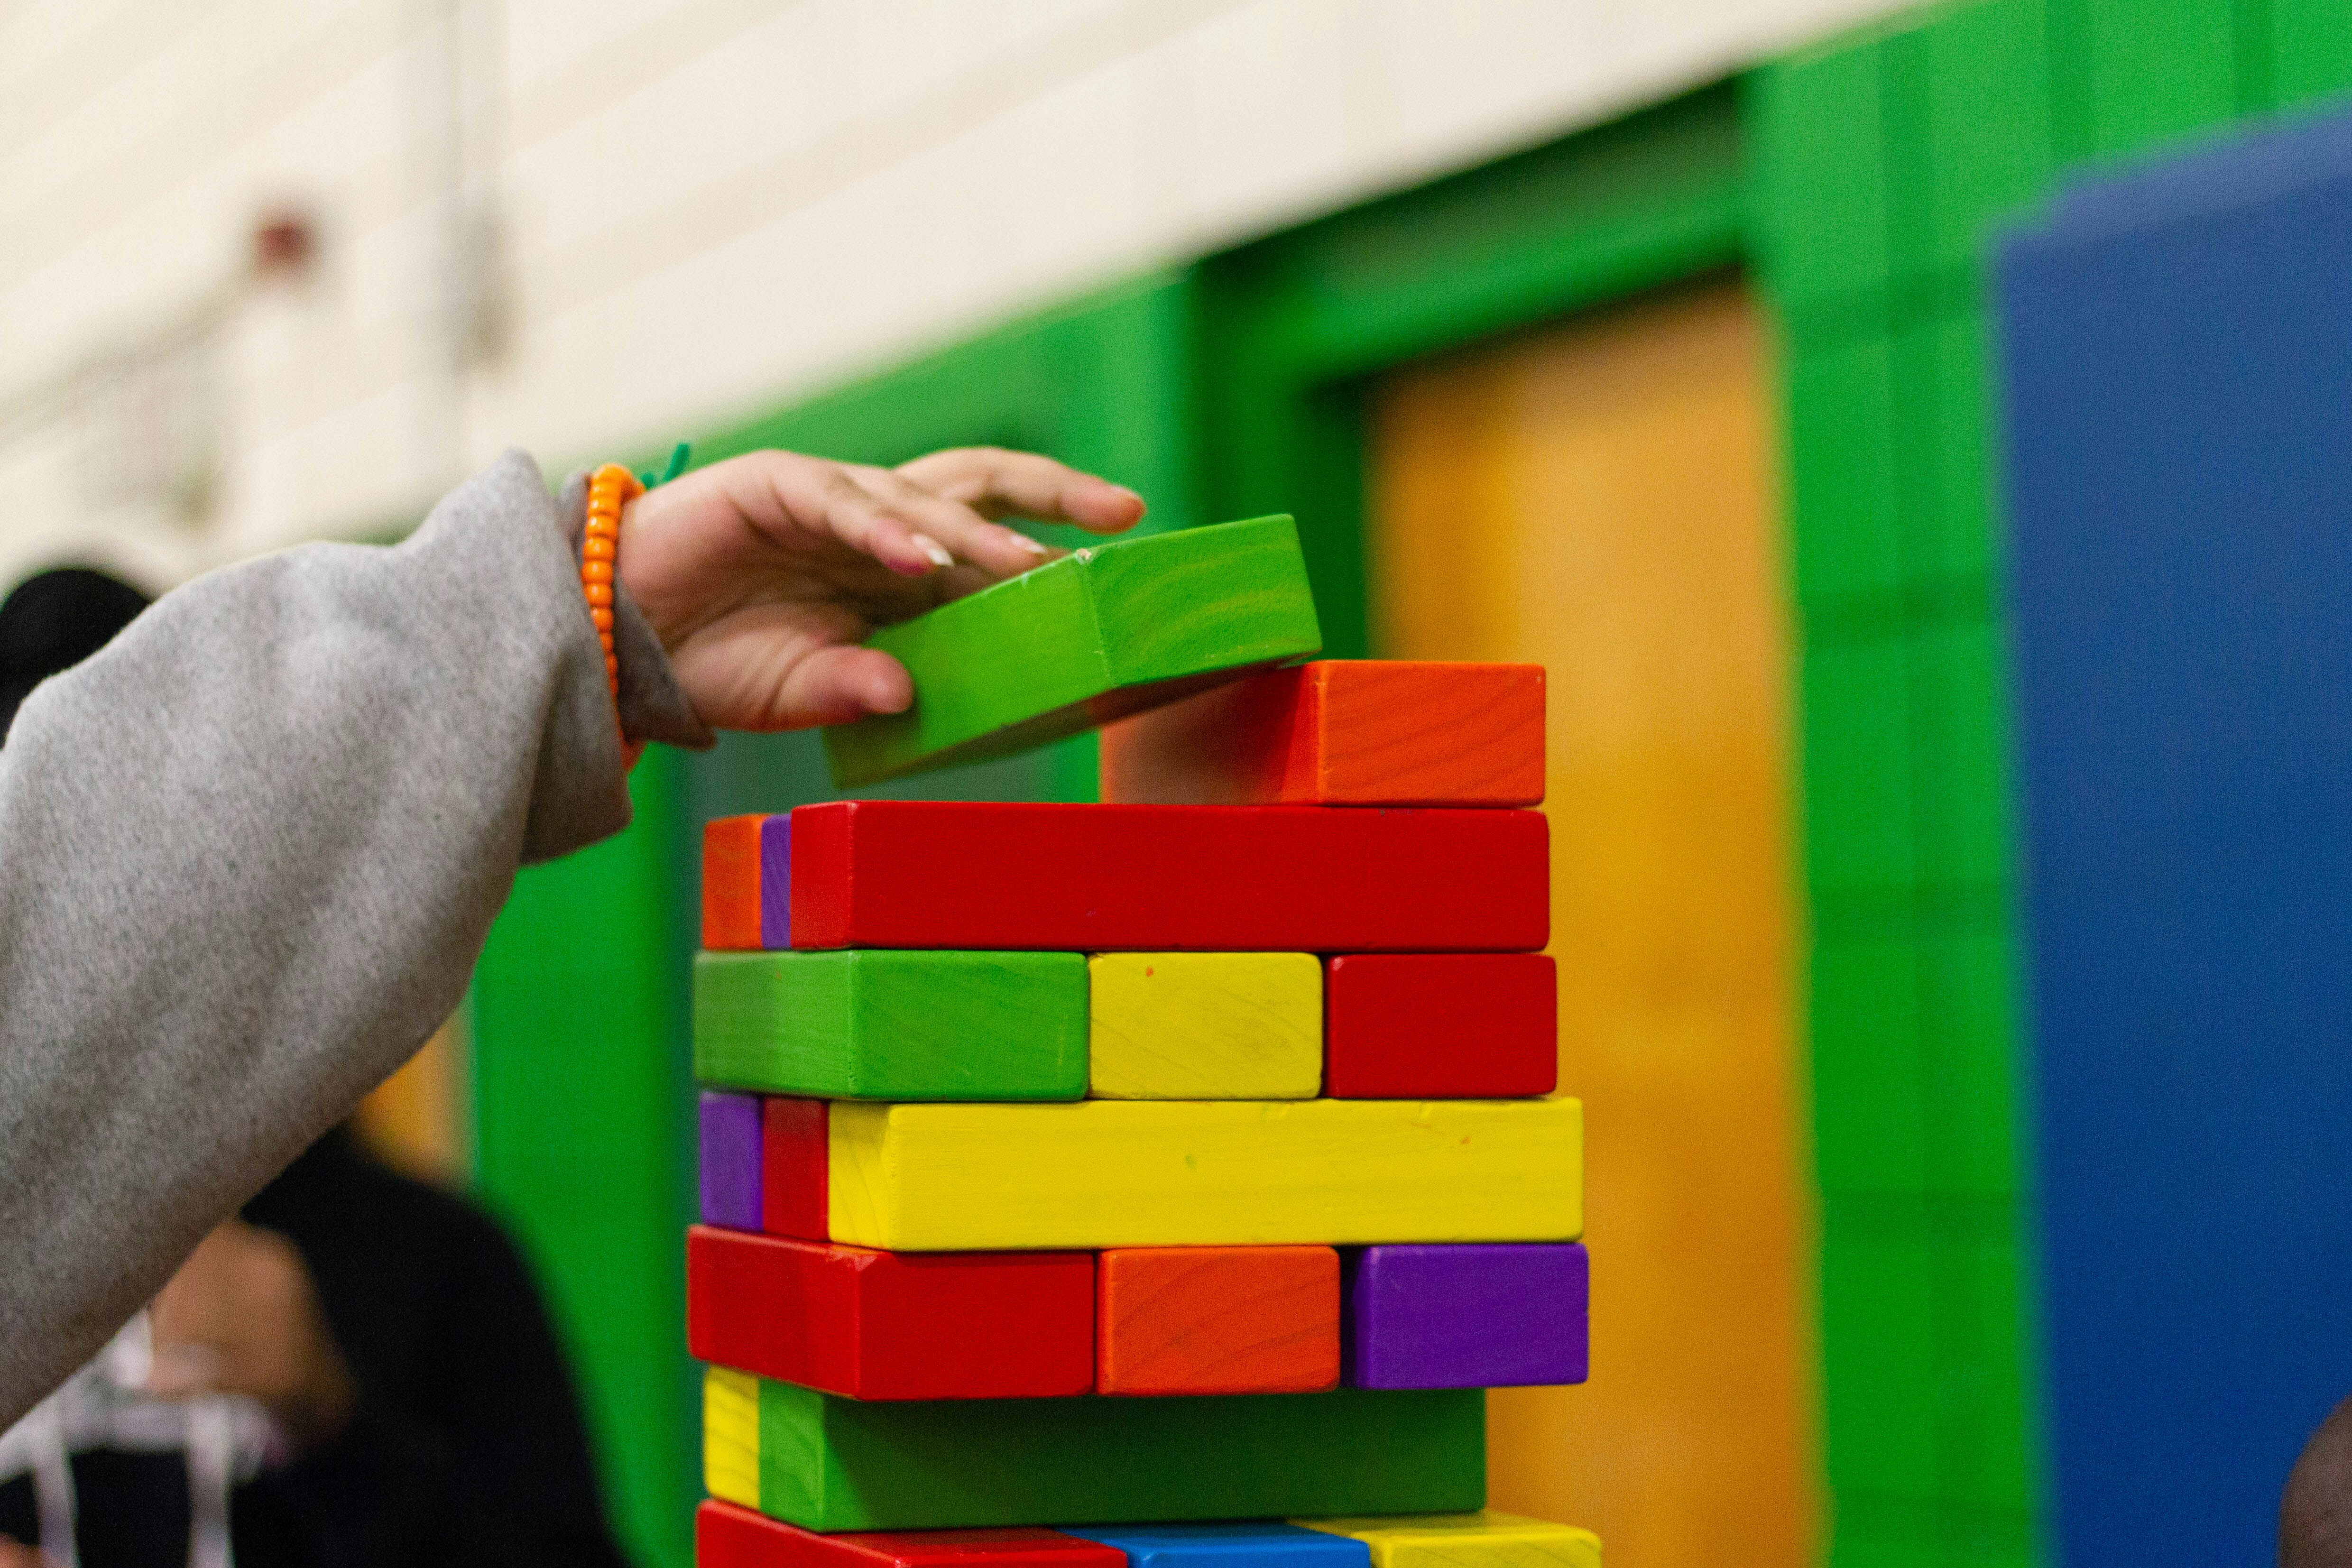
Give your child building blocks, stacking cups, or other objects to create towers. This fine motor skills activity helps with coordination, balance, and problem-solving skills. 

Challenge them to build the tallest structure possible or create specific shapes to add complexity.

Everyday Tasks

Sorting Games

Use everyday items like buttons, coins, or pom-poms for sorting activities. Have your child sort them by colour, size, or shape into small containers. This can help improve dexterity, focus, and organisational skills while being highly engaging.

Peeling Stickers

Using colourful stickers, encourage your child to peel and stick them onto paper or a surface. This can develop fine motor control and strengthen their pincer grip, which is essential for writing and other tasks.

Tongs and Tweezers

Hand your child a pair of tongs or tweezers and let them pick up small items like cotton balls, cereal, or pom-poms. 

Set up a challenge where they move the items from one container to another to enhance grip strength and hand-eye coordination. 


Improving Children’s Fine Motor Skills

Helping children develop fine motor skills is an essential part of their growth and independence. 

By incorporating simple and engaging activities into their daily routine, you can make learning fun while fostering their creativity, confidence, and coordination. 

From playful games like balloon volleyball to practical tasks like sorting buttons, each activity builds strength and precision in their little hands. With patience and practice, these fine motor skills will lay the foundation for lifelong success in tasks both big and small.

Building Bonds – Constructive Play for Quality Parent-Child Time – Parents’ Guide

In today’s busy world, finding meaningful ways to connect with your children can be a challenge. Constructive play is a fantastic solution, combining fun, learning, and bonding in a way that’s both rewarding and memorable. At JCB Explore, we understand the importance of these moments and want to help you make the most of them.


Why Constructive Play Matters

Constructive play is more than just a way to keep kids entertained. It’s an essential part of childhood development that helps children build problem-solving skills, enhance creativity, and improve hand-eye coordination. For parents, it’s a unique opportunity to bond with your child, teaching them new skills while creating lasting memories.


Creative Block Building

Building with blocks is a timeless and versatile way to engage in constructive play. Here’s how you can make the most of it.


Collaborative Creations

Rather than simply stacking blocks, turn block building into a collaborative project. For example, you and your child can work together to build a miniature city or a JCB construction site. Allow your child to lead the project by deciding what structures to build, while you offer support and guidance. This approach encourages independence, teamwork, and creativity. It also provides opportunities to discuss real-world concepts like architecture, engineering, and urban planning.


Storytelling with Structures

Take your block building to the next level by incorporating storytelling. As you build, create a narrative that brings your structures to life. For instance, your block tower could be the headquarters of a brave construction crew, complete with JCB machines ready for action. This method not only sparks creativity but also helps develop language skills and narrative thinking. Plus, it makes the play session more engaging and memorable.


Build a Birdhouse or Bug Hotel

This project is perfect for teaching your child about nature and the environment while working together to create something meaningful. Start by gathering simple materials like wood, nails, and paint. Guide your child through the process of designing and building the birdhouse or bug hotel, allowing them to take the lead in decision-making. Once the project is complete, you can paint and decorate it together, making it truly unique. This activity not only enhances fine motor skills and creativity but also fosters a sense of responsibility and care for the environment.


Build a Fort or Teepee

Using natural materials like branches, leaves, and twine, you and your child can build a cosy fort or teepee in your garden. Begin by discussing how to make the structure sturdy and weather-resistant, encouraging problem-solving and teamwork. Once the fort is built, it can become the setting for all kinds of imaginative play—from pretending to be explorers to having a picnic inside. This activity not only develops your child’s creativity and practical skills but also provides a great space for bonding and storytelling.


Tips for Successful Constructive Play

The goal is to have fun and connect with your child, so be patient and offer encouragement. Let your child’s creativity shine, even if the end result isn’t perfect. Give your child the opportunity to lead the play. This builds confidence and independence, while still allowing you to participate and support their efforts.

Constructive play is a wonderful way to strengthen your bond with your child while fostering creativity, problem-solving skills, and a love for learning. At JCB Explore, we believe that these moments of play are invaluable, creating memories that will last a lifetime. Whether you’re building with blocks, working on a DIY project, or constructing a fort outside, these activities offer endless opportunities for connection and growth.

4 Ways To Turn Everyday Items Into Fun Play Items

Creativity and recycling go hand-in-hand, and transforming everyday household items into play structures is a fantastic way to engage children in fun, eco-friendly activities. Here are four creative DIY projects that emphasise the importance of recycling while sparking imagination:

Cardboard Box Forts

Cardboard boxes are versatile and can be repurposed into amazing forts, castles, or playhouses. Gather a few large boxes, tape, and markers. Let your children design and decorate their own personal play space. 

Cut out windows and doors, and use additional boxes to create furniture or accessories. This project encourages imaginative play and helps develop fine motor skills as children draw, cut, and construct their creations.

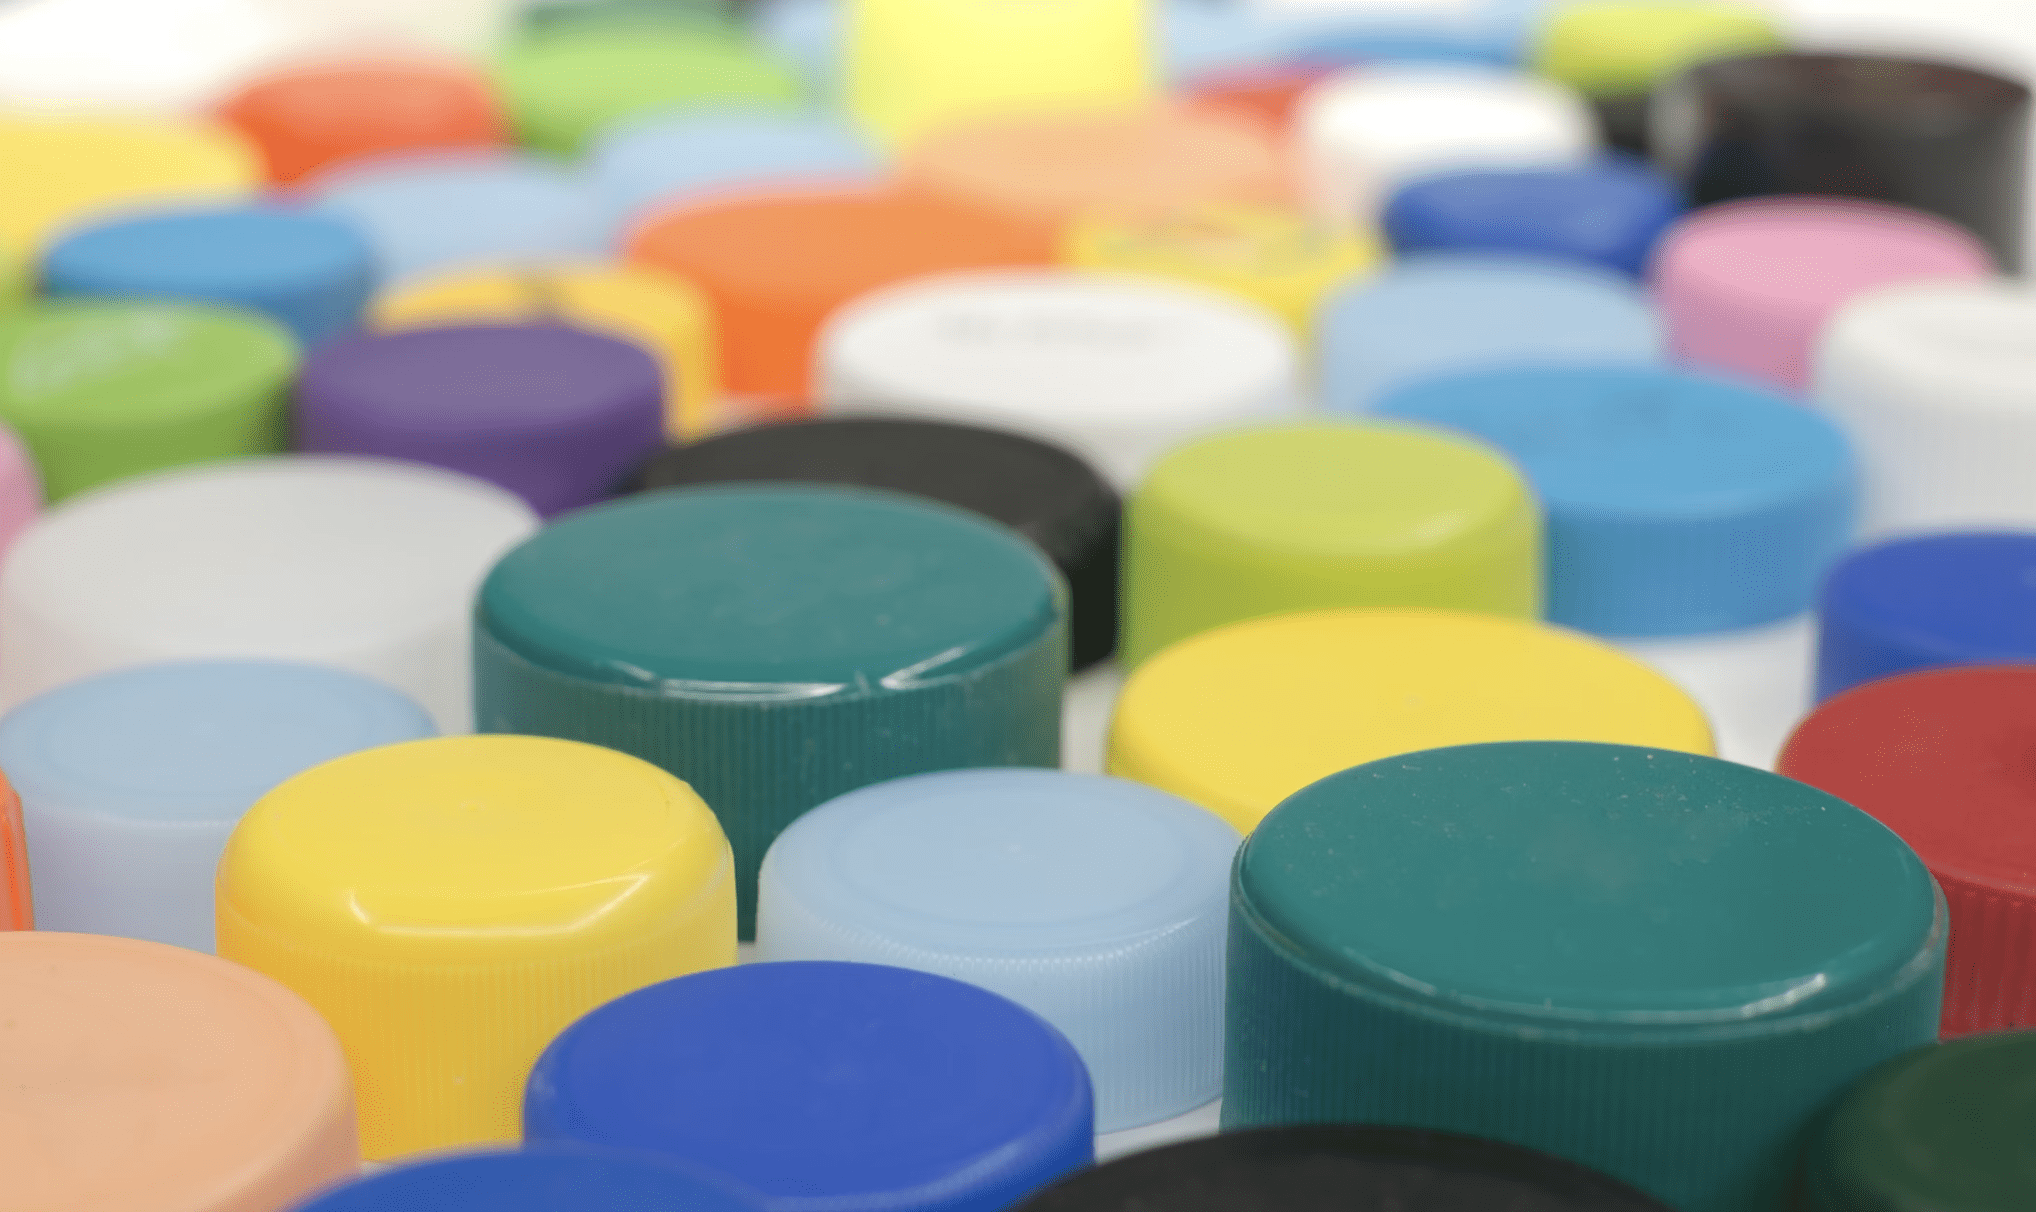
Bottle Cap Mosaics

Save those plastic bottle caps and transform them into colourful mosaics. Collect caps from various bottles, clean them, and gather a large piece of cardboard or wood as the base.

Use glue to attach the caps in different patterns and designs. This way you can not only promote recycling but also encourage children’s artistic abilities and patience as they carefully place each cap to create a beautiful mosaic.


Old Clothing Puppets

Repurpose old socks, gloves, and scraps of fabric into delightful hand puppets. Gather buttons, yarn, and fabric glue to add eyes, hair, and other features.

Encourage your children to create characters and put on a puppet show. This project is an excellent way to foster creativity and storytelling skills while giving new life to old clothing items that would otherwise be discarded.

Tin Can Drums

Turn empty tin cans into a fun musical instrument. Clean out a few cans of different sizes, and cover the open ends with balloons or fabric secured with rubber bands.

Decorate the cans with paint, stickers, or markers. Provide your kids with drumsticks or wooden spoons, and let them explore different rhythms and sounds. This project combines music and crafting, offering an engaging way to teach rhythm and coordination.

By repurposing household items into play structures, you not only provide endless entertainment but also teach valuable lessons about recycling and sustainability. These creative DIY projects can help children see the potential in everyday objects and inspire them to think creatively about the world around them.  If you get creative in some of these activities, share your creations by tagging @jcbkids on Instagram or Facebook.

Cultivating Green Hearts: 5 Best Earth Day Activities to Foster Kids’ Environmental Awareness

In a world increasingly threatened by climate change and environmental degradation, nurturing a sense of responsibility and awareness towards the planet in our children has never been more crucial. Earth Day, celebrated annually on April 22nd, provides a perfect opportunity to engage kids in meaningful activities that foster a connection with nature and instil a sense of environmental consciousness from a young age. Here are five hands-on projects and mindful practices designed to do just that:

Planting Seeds of Change

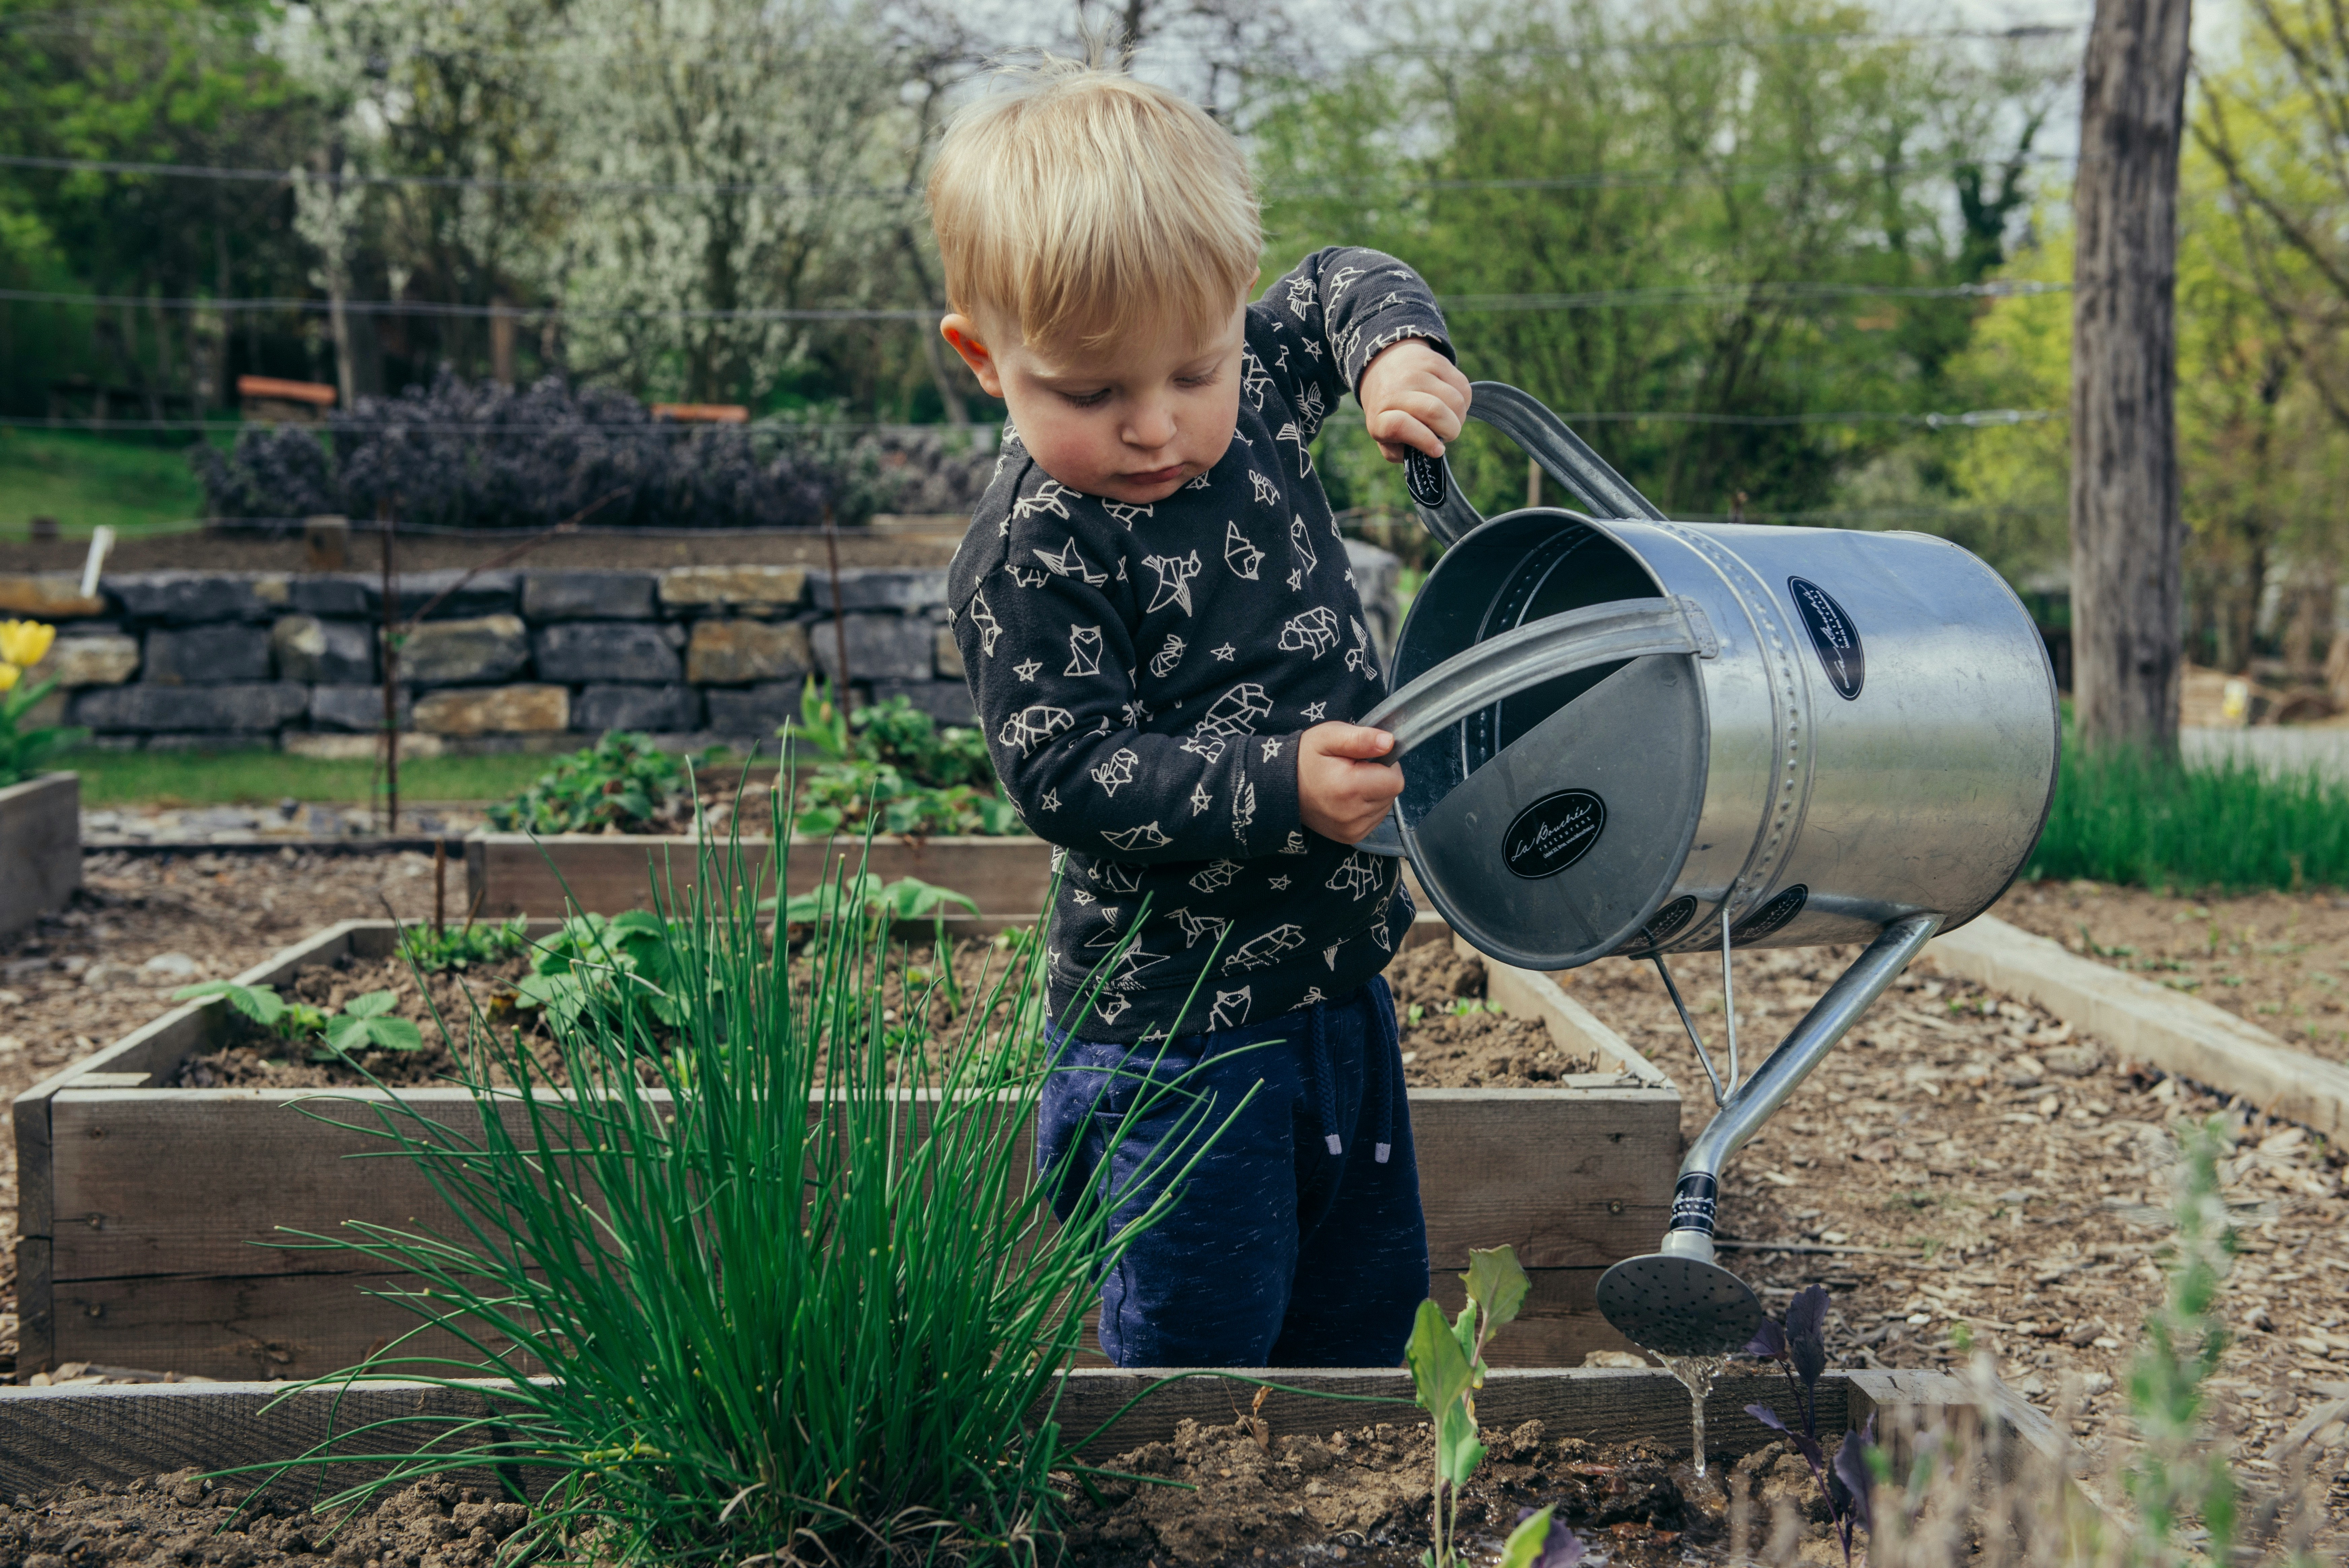
Few activities resonate with the essence of Earth Day more than planting trees or seeds. Encourage children to get their hands dirty by planting native trees, flowers, or vegetables in their garden, a community garden, or even in pots indoors. As they witness the growth process firsthand, they’ll learn about the importance of plants in our ecosystem, the role of photosynthesis, and the significance of green spaces for clean air and biodiversity.

Trash to Treasure

Engage kids in a cleanup activity in your neighbourhood, local park, or along a nearby beach. Provide them with gloves and bags, and encourage them to collect litter while explaining the harmful effects of pollution on wildlife and ecosystems. After the cleanup, turn sorting through the collected items into a fun game, distinguishing between recyclables, compostables, and rubbish. Encourage creativity by transforming some of the recyclables into art or useful items, teaching children the value of recycling and upcycling.

Nature Scavenger Hunt

Take children on a nature scavenger hunt to explore the beauty and diversity of the outdoors. Create a list of items for them to find, such as different types of leaves, rocks, insects, or animal tracks. Encourage them to use their senses to observe and appreciate the natural world around them. Along the way, discuss the interconnectedness of living organisms and the importance of preserving habitats for all species.

Reduce, Reuse, Recycle Craft

Turn Earth Day into a creative crafting session by repurposing household items into eco-friendly art projects. Provide materials like cardboard tubes, old newspapers, scrap paper, and fabric scraps, and challenge children to create something new and useful. Whether it’s making DIY bird feeders, homemade paper, or recycled fashion accessories, this activity reinforces the principles of reducing waste, reusing materials, and recycling whenever possible.

Storytime for Sustainability

Utilise storytelling as a powerful tool for teaching environmental lessons and inspiring empathy towards the planet. Choose age-appropriate books that highlight ecological themes, such as conservation, climate change, or endangered species. After reading together, facilitate discussions about the stories’ messages and encourage children to brainstorm ways they can make a positive difference in their own lives. Consider incorporating multimedia elements like videos or interactive online resources to enhance learning.

By engaging in these Earth Day activities, children not only develop a deeper understanding of environmental issues but also cultivate a sense of stewardship and empathy towards the planet and all its inhabitants. Remember, the lessons learned and values fostered today will shape the actions and attitudes of future generations towards creating a more sustainable and harmonious world. So, let’s celebrate Earth Day not just as a single day of awareness but as an ongoing commitment to nurturing our planet and its precious resources for generations to come.


Raising Little Engineers: Nurturing STEM Learning and Constructive Play at Home

In a world driven by innovation and technology, fostering a passion for STEM (Science, Technology, Engineering, and Mathematics) in children has never been more crucial. Parents and teachers play a pivotal role in cultivating the curiosity and skills that will shape our little ones into future engineers and problem solvers. 

Today we’ll explore practical tips for creating a STEM-enriched environment at home and encouraging children to get stuck in the world of creativity.

Creating a STEM-Enriched Environment

Building a foundation for STEM learning begins with creating an environment that sparks curiosity. Set up a dedicated space at home for STEM activities, equipped with age-appropriate STEM toys, books, and materials. This space serves as an inviting hub where children can explore, experiment, and discover the wonders of science, technology, engineering, and mathematics.


Engaging in Hands-On DIY Projects

DIY projects provide a fantastic opportunity for hands-on learning. Encourage your little engineers to embark on simple DIY projects that involve problem-solving and critical thinking. Whether it’s constructing a cardboard robot, creating a mini volcano eruption, or building a homemade kaleidoscope, these projects not only teach practical STEM concepts but also ignite a love for creativity and experimentation.


Introducing Construction Toys

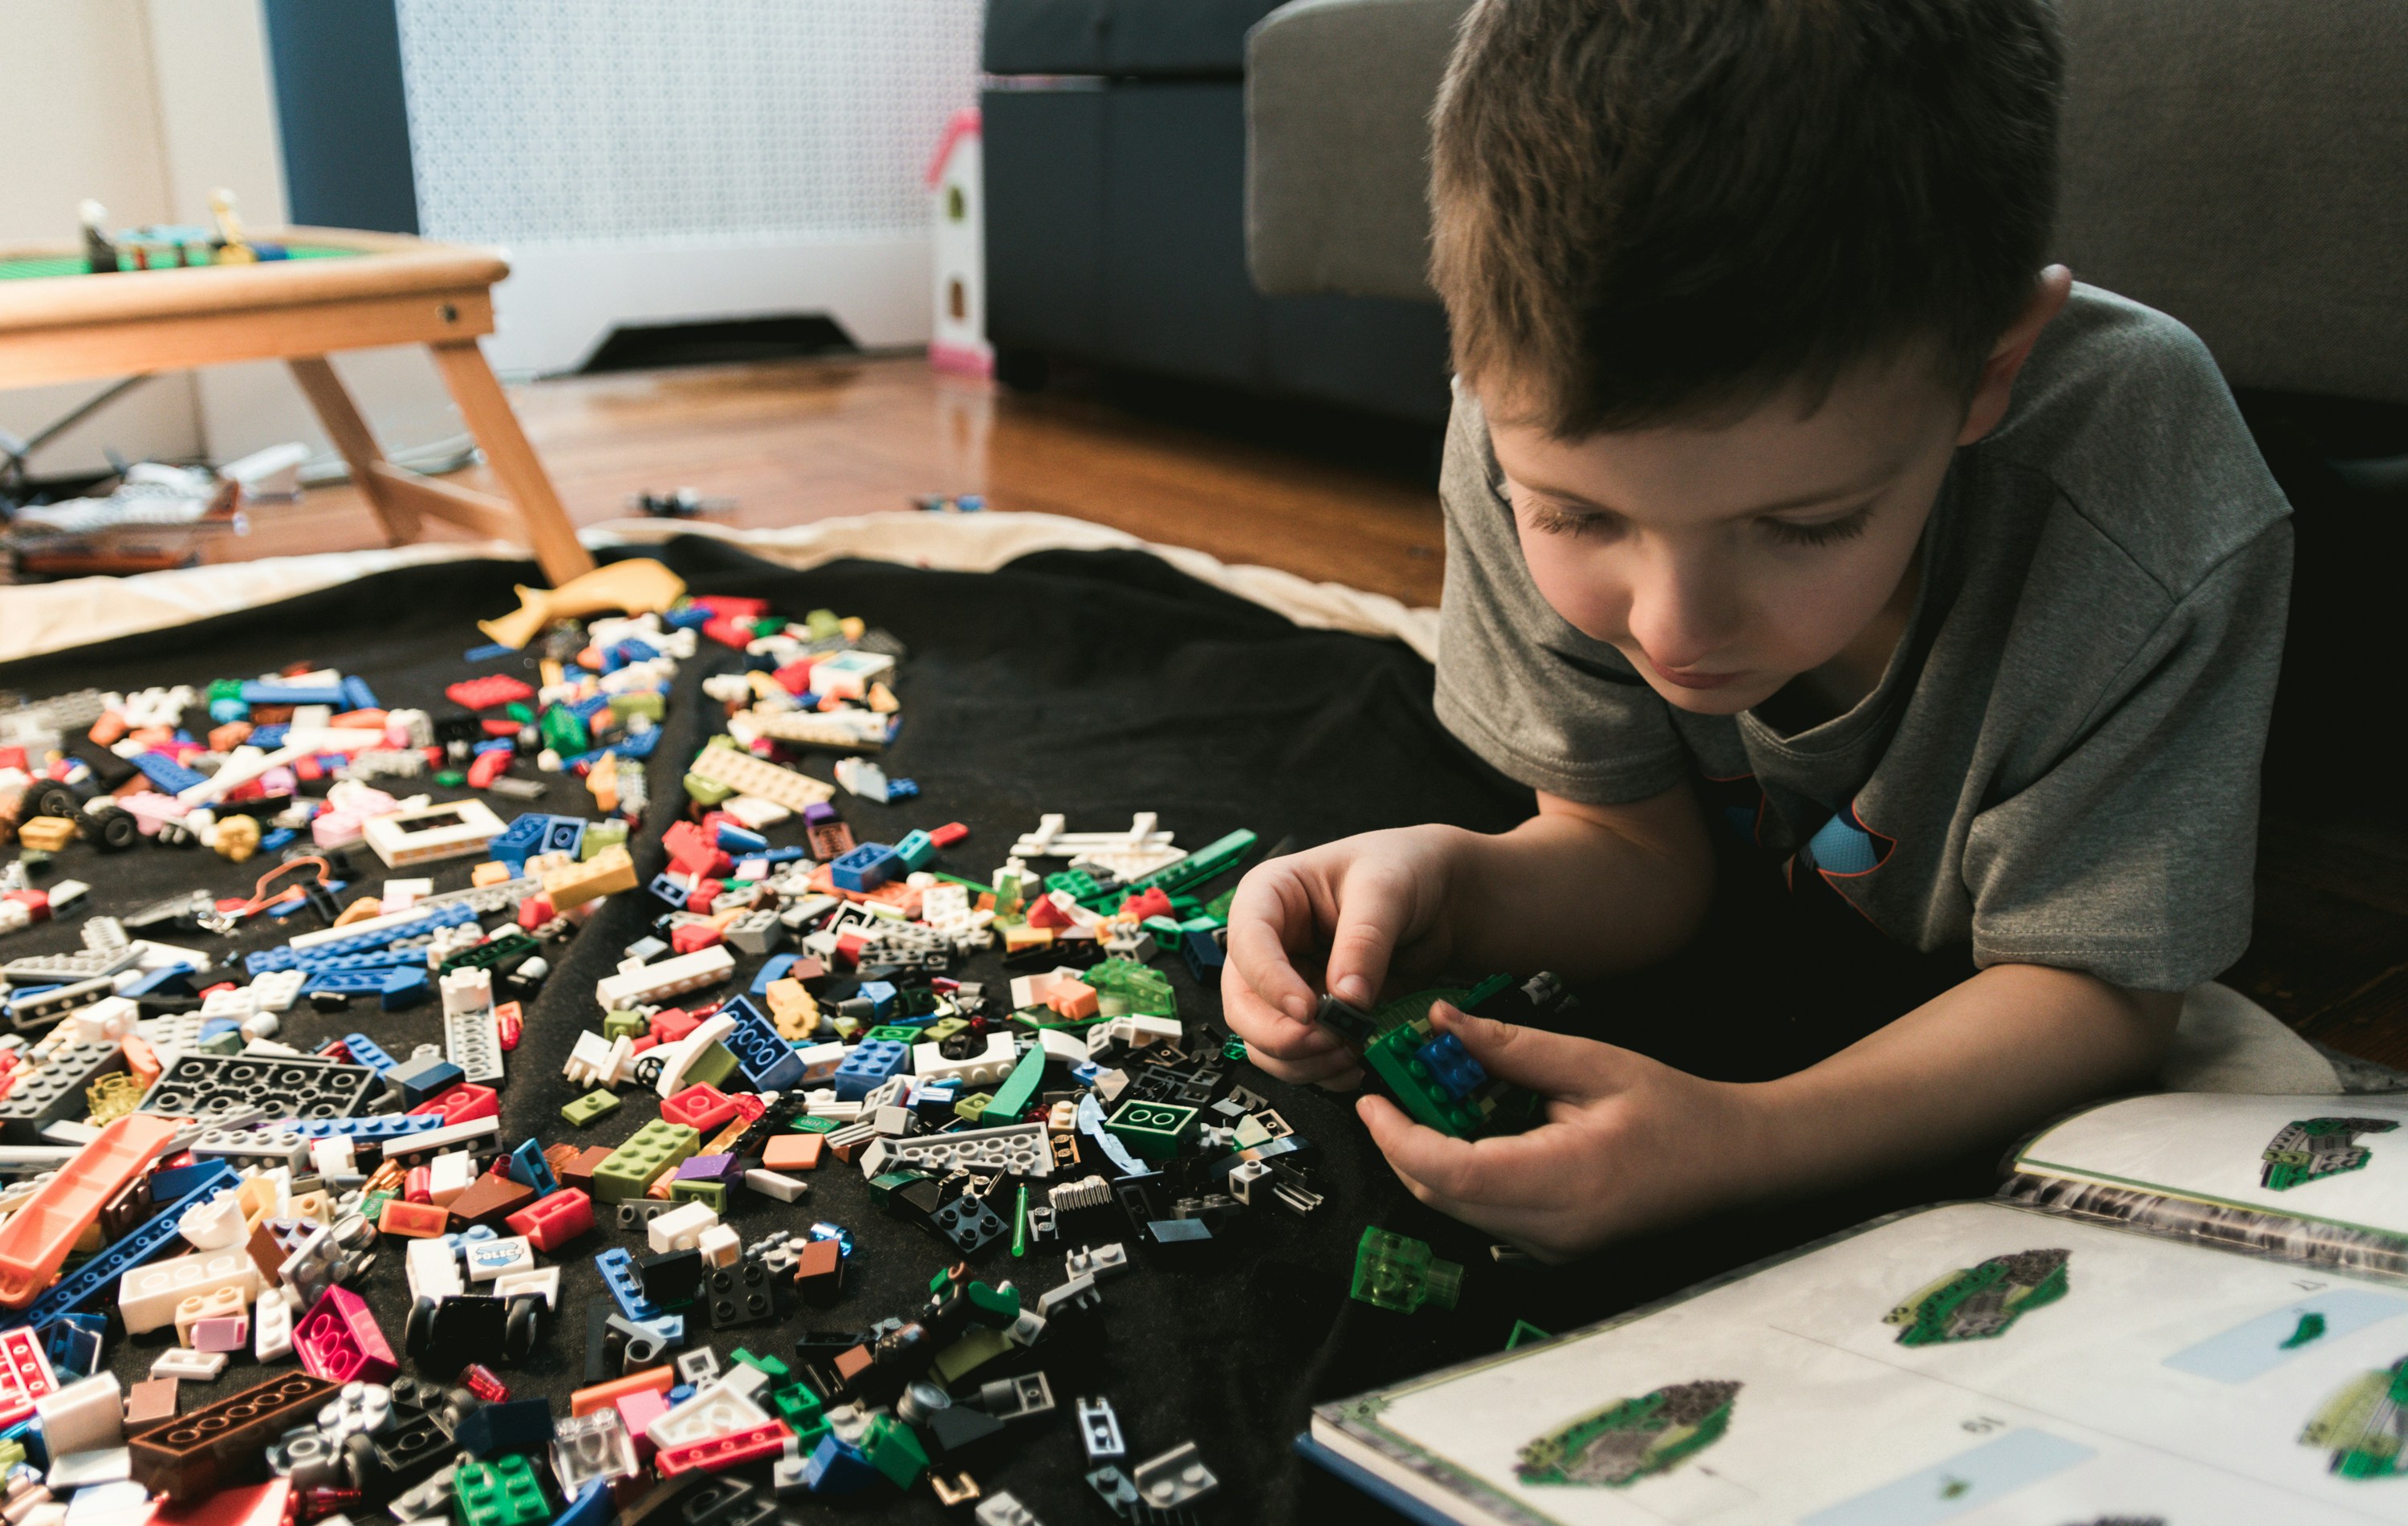
Construction toys are invaluable tools for nurturing engineering skills in young minds. From digger toys to LEGO sets, these toys enhance spatial awareness, fine motor skills, and problem-solving abilities. Explore different types of construction toys suitable for your child’s age and watch as they construct, deconstruct, and build imaginative structures.


Exploring STEM Books and Apps

Incorporating STEM-themed books and apps into your child’s daily routine is an enjoyable way to reinforce learning. Choose books that explore scientific concepts, engineering marvels, and the wonders of the natural world. Additionally, explore interactive STEM apps that provide engaging activities and games, making learning a delightful experience.


Encouraging Curiosity Through Nature Exploration

Nature is a natural classroom for budding scientists. Encourage your children to explore the outdoors, observe plants, insects, and animals, and ask questions about the world around them. Nature walks, gardening, and stargazing are excellent activities that stimulate curiosity and instil a love for the sciences.

Raising little engineers involves creating a nurturing environment that encourages exploration, creativity, and a love for STEM. By incorporating these practical tips, parents and teachers can play a key role in fostering a lifelong passion for learning and discovery in their children. As we inspire the next generation of innovators, we contribute to a brighter, more innovative future.

Outdoor Play Activities For Kids With Special Educational Needs

Outdoor play is an essential part of childhood development, fostering physical, emotional, and
cognitive growth. For children with special educational needs, the benefits of outdoor play are
just as important, if not more so.

This blog post explores outdoor play activities that are not only suitable for children with
special educational needs but also tailored to their specific requirements. These activities are designed to be inclusive, sensory-rich, and engaging, catering to a range of abilities while ensuring the safety and enjoyment of every child involved.

Sensory Gardens

One fantastic outdoor play activity for children with special educational needs is the creation of
sensory gardens. Sensory gardens are specially designed spaces that engage children’s
senses – sight, touch, smell, sound, and even taste.

These gardens can include a variety of plants with different textures and scents, wind chimes,
and water features. The sensory experience offered by these gardens can be particularly
beneficial for children with autism or sensory processing disorders, helping them feel more
comfortable and relaxed in an outdoor environment.

Inclusive Playground Equipment

Many parks and playgrounds now offer inclusive equipment designed to accommodate children
with various disabilities. These accessible structures include ramps, swings with back support, and sensory play panels. Inclusive playgrounds promote social interaction, physical activity, and sensory exploration, allowing all children to play together without barriers.

Water Play

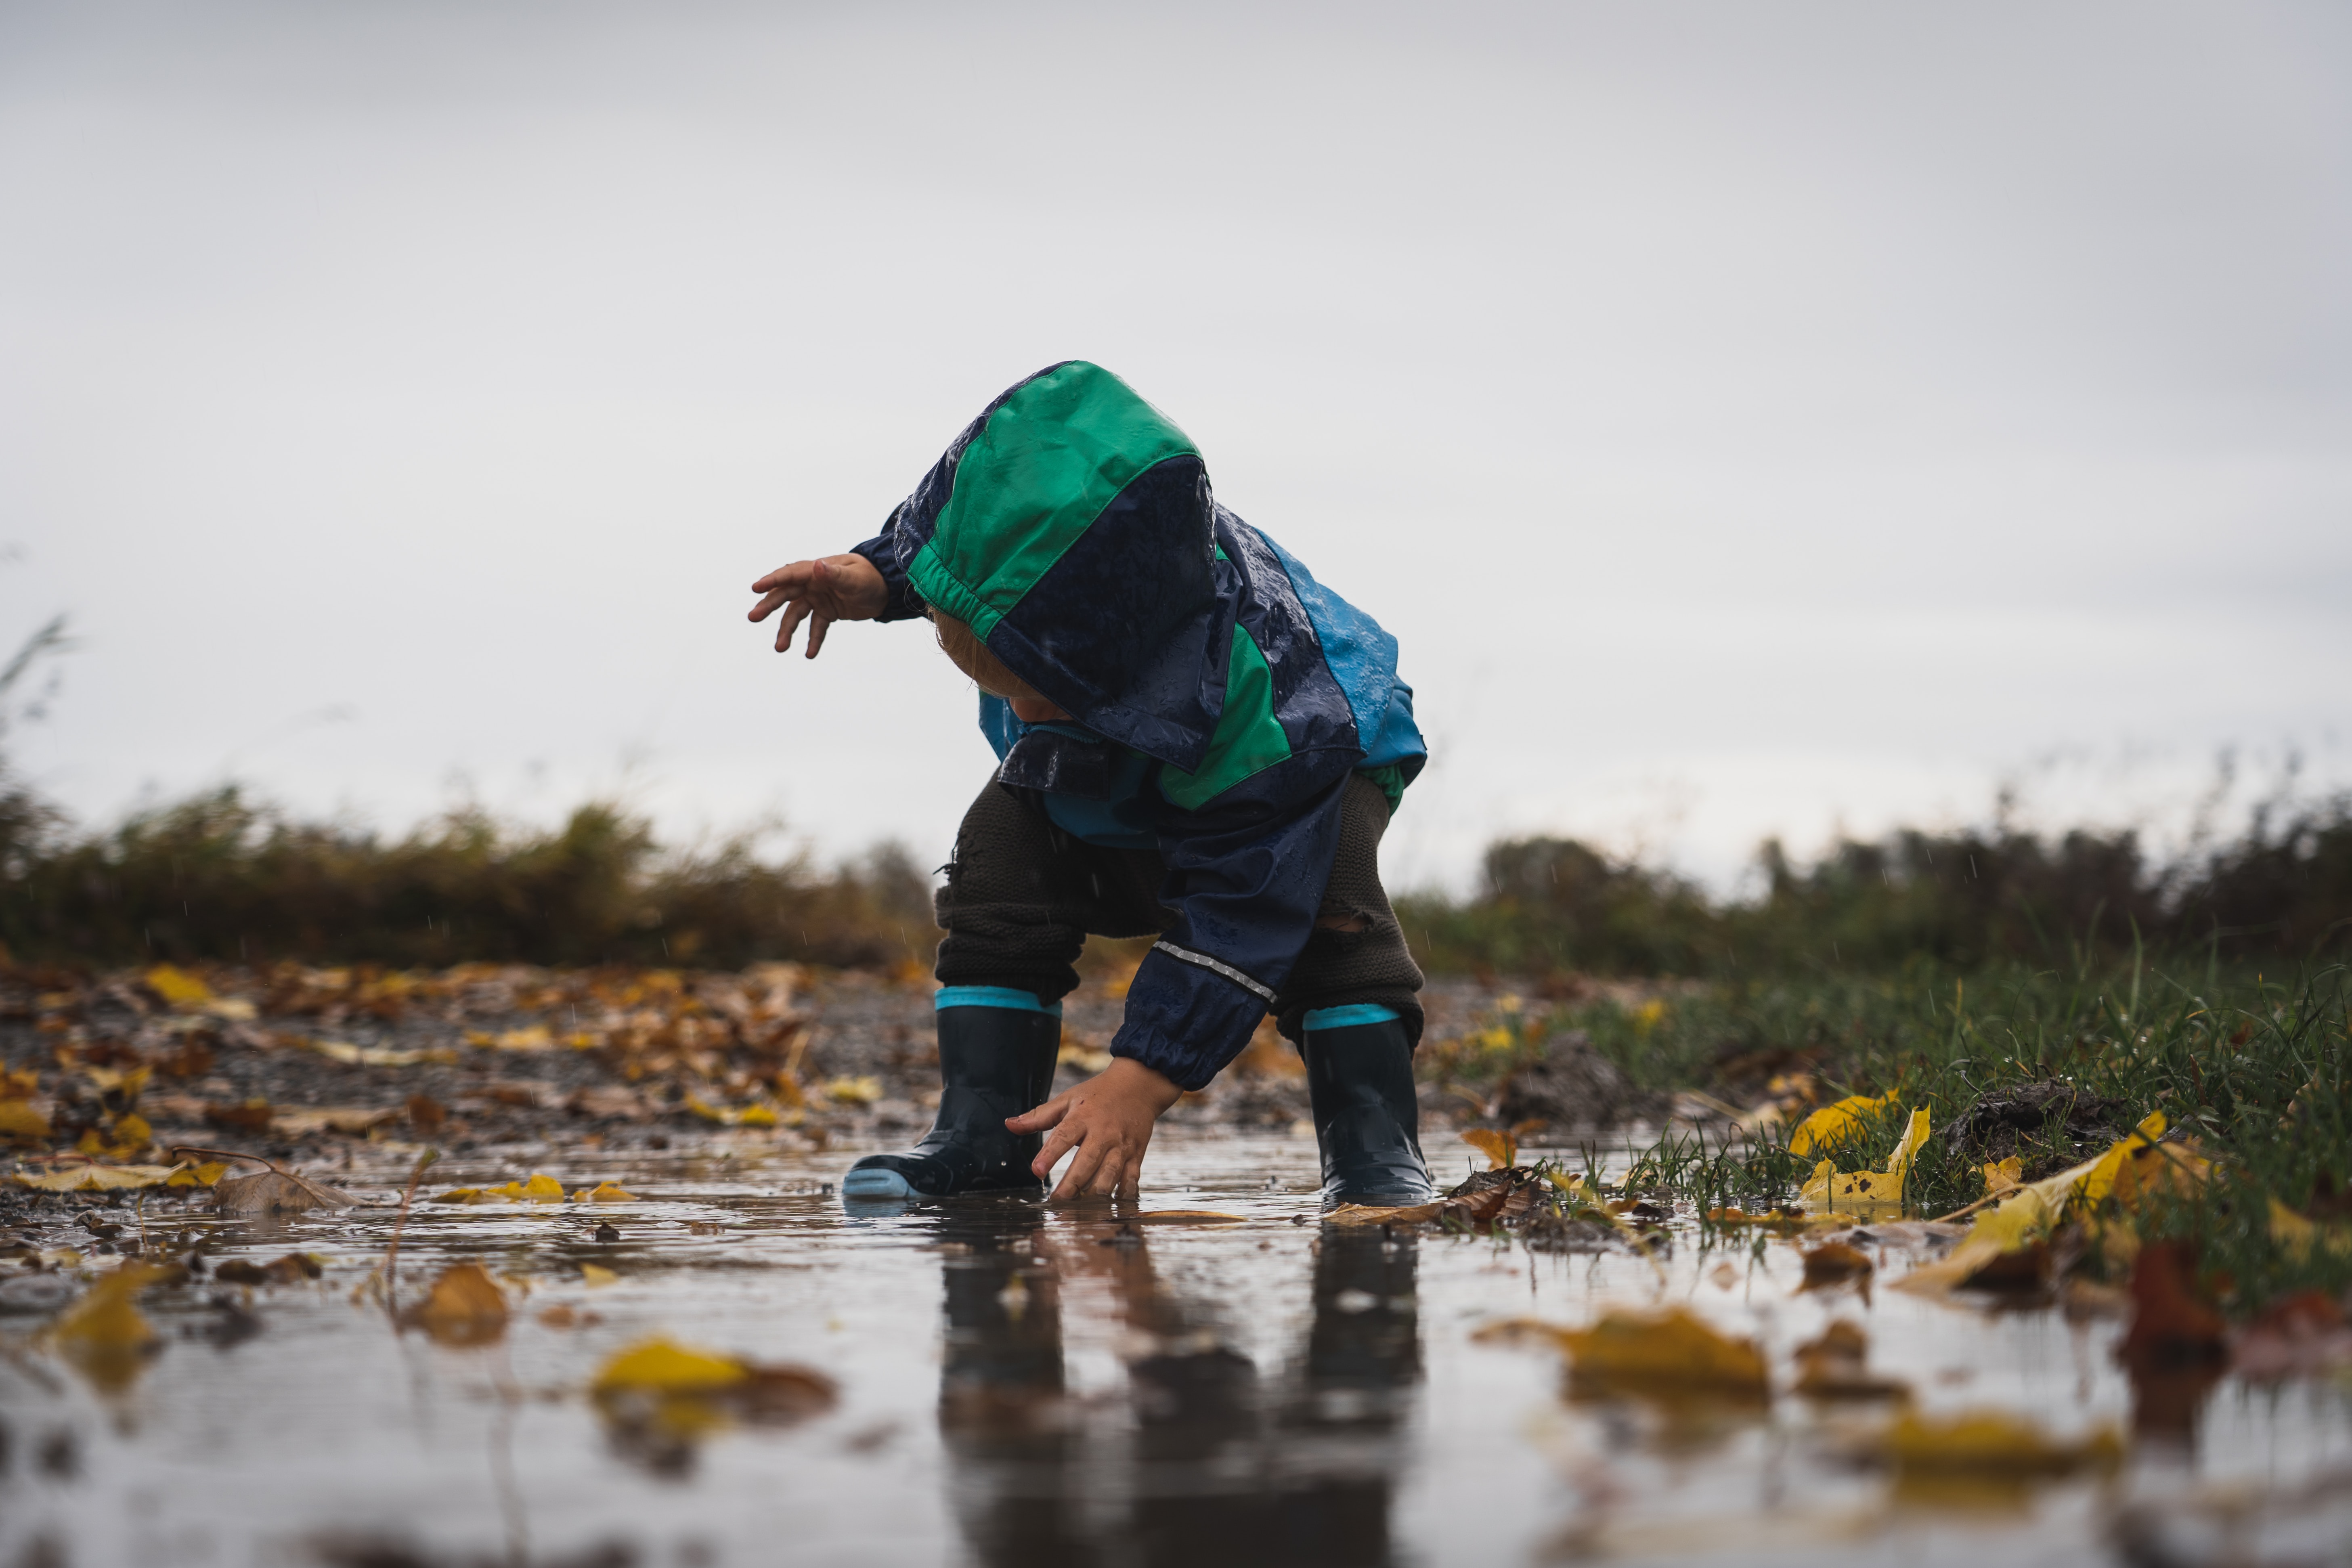
Water play is universally loved by children, and it can be especially beneficial for those with
special educational needs. Activities such as water tables, splash pads, and shallow pools
provide sensory stimulation and encourage fine and gross motor skills development.
Ensure that any water play area is supervised, and safety measures are in place to
accommodate children with mobility challenges.

Nature Scavenger Hunts

Nature scavenger hunts are a fun and educational outdoor activity for children of all abilities.
Create a list of items for the kids to find, such as leaves, rocks, flowers, or specific colours.
This activity encourages children to explore their environment, fosters cognitive development,
and can be easily tailored to accommodate various abilities and interests.

Adaptive Sports and Games

Adaptive sports and games are another great way to engage children with special educational
needs in outdoor play. These activities can be modified to suit different abilities.
For example, you can play a game of adapted basketball using lower hoops or use larger, softer
balls for games of catch. Such activities promote physical fitness, social interaction, and
teamwork.

Sensory Trails

Sensory trails are designed paths that incorporate various sensory elements, such as textured
surfaces, wind chimes, and scented plants. These trails are ideal for children with special
educational needs as they provide a structured yet sensory-rich outdoor experience.
Sensory trails can be found in some parks or can be created in your own garden with some
planning and creativity.

Outdoor Constructive Play

Constructive play often involves building and creating with various materials. In an outdoor
setting, children can use natural materials like sticks, rocks, leaves, and pine cones to construct
structures, sculptures, or imaginative play spaces.
This activity promotes creativity, problem-solving, and fine motor skills development while
connecting children with nature.

Adapting Activities and Ensuring Safety

When planning outdoor play activities for children with special educational needs, it’s crucial to
adapt activities to suit individual abilities. Be patient, offer support as needed, and ensure that
the environment is safe for all participants. Here are some tips to keep in mind:

● Communication: Understand each child’s needs and preferences by communicating
with their caregivers or teachers. This will help tailor activities to their abilities and
interests.
● Supervision: Always supervise outdoor play to ensure safety and provide assistance
when necessary.
● Safety Measures: Install safety features, such as handrails, ramps, or cushioned
surfaces, to make the outdoor space more accessible and safe for children with
mobility challenges.
● Inclusivity: Encourage inclusivity by creating a welcoming and accepting atmosphere
where all children can participate comfortably.

Outdoor play is a valuable part of childhood. By incorporating inclusive and sensory-rich
outdoor activities, you can provide children with a stimulating and enjoyable experience while
promoting their development and well-being.
Remember to adapt activities as needed and prioritise safety to ensure that every child can
fully enjoy the benefits of outdoor play.

Toy Tractors And STEM Learning: How Playing With Toy Tractors Promotes Science, Technology, Engineering And Maths Skills

Toy tractors have been a staple of childhood play for generations. With their colourful designs and sturdy construction, these miniature machines have captured the imaginations of children all over the world. But did you know that they can also promote valuable skills in science, technology, engineering, and maths (STEM)?

STEM skills are becoming increasingly important in today’s world, as industries from engineering to healthcare rely on workers with a strong foundation in these areas. By encouraging children to explore STEM concepts through play, parents and educators can help prepare them for success in a variety of fields.

Promoting Basic Engineering Skills

Toy tractors are an ideal tool for introducing STEM concepts to young children. For example, they can be used to teach basic engineering principles, such as how levers and pulleys work. Children can experiment with different configurations of the toy tractor to see how changing the position of the wheels or adding weights affects its performance.

Developing Spatial Awareness & Reasoning

In addition, toy tractors can help children develop their spatial reasoning skills. By building obstacle courses or designing mazes for the toy tractors to navigate, children can learn to think critically about how objects move in space and develop an intuitive understanding of spatial relationships.

When a child plays with a toy tractor and trailer, they are using their imagination to create a scenario where the tractor is moving objects from one place to another. This simple act involves a number of STEM skills, such as predicting how the trailer will move based on the weight and placement of the objects inside, and making adjustments to ensure that the trailer stays balanced.

Teaching Basic Physics Concepts

Toy tractors can also be used to teach basic physics concepts. For example, children can learn about the principles of motion by experimenting with different types of surfaces and inclines. They can also explore the concept of force by using the toy tractors to push or pull objects of varying weights.

Mastering Maths Skills

Finally, toy tractors can be a great tool for teaching basic maths skills. Children can use the tractors to count objects, measure distances, and explore basic geometry concepts such as shape and symmetry.

How To Choose The Best Toy Tractor For Your Child?

When selecting a toy tractor, look for one that has features that encourage hands-on exploration and experimentation. This could include movable parts, realistic details, and interactive elements like lights and sounds. The toy should also be sturdy, so that children can engage in active play without worrying about it breaking easily.

JCB Explore’s toy tractors are designed to be durable and sturdy, with realistic features that mimic real-life construction vehicles. This attention to detail helps children develop an understanding of how these machines work and how they’re used in the real world.

Overall, they are a fantastic option for parents and educators who are looking to promote STEM learning in young children. By providing children with a fun and engaging way to explore engineering, physics, maths, and other STEM concepts, these toys can help set them on a path towards lifelong learning and success in a rapidly changing world.

JCB logo
Privacy Overview

This website uses cookies so that we can provide you with the best user experience possible. Cookie information is stored in your browser and performs functions such as recognising you when you return to our website and helping our team to understand which sections of the website you find most interesting and useful.

Close popup